Creating an advertising campaign
With Adomni’s easy programmatic planning and buying tool, you can build and launch a campaign in minutes.
Here are the 7 steps:
- On the top of the website, click Login/Register
- Once logged in, click on the New Campaign button.

3. Start by entering in your core information on the top of the page such as the campaign name, client name (if applicable) and optionally associate tags for filtering/reporting later.

If you have any questions about the meaning of the different options, click on the question-mark circles for an explanation.

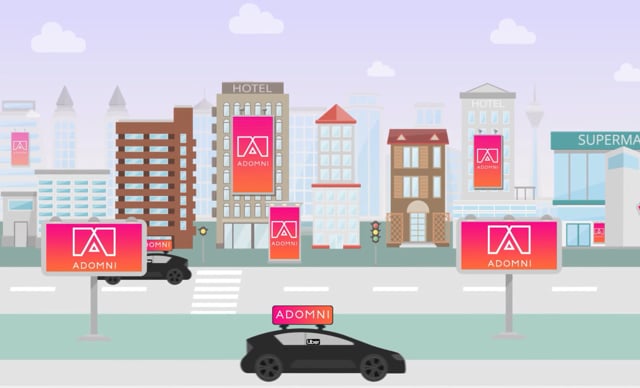
Next, enter in the target areas where you would like your ads to play. After choosing from popular attributes such as metro area or zip code, the geo targets will show up in the middle section:

If you have specific media type preferences, choose the ones to include and they will appear as pill buttons like shown below:

With every change you make, the metrics tray at the top of the page will update:

Click the dropdown for “View Breakdown by Media Type” to see the # of screens, impressions and CPM price:

4. Next go to the Campaign Details tab to provide your schedule for when the ads will play, enter in your budget and specify your desired media mix budget allocation.

5. If you know the specific audience that you are trying to reach, using our Audience IQ technology, you can target the best screens that match up with your intended audience. Our complimentary, audience targeting technology offers 1,000 audience segments, with options ranging from demographics to behavioral to purchase interests.
Powered by:
![]() and their database of 200 million monthly unique mobile device ids
and their database of 200 million monthly unique mobile device ids
Once you have selected your optimal audience segments, our ad serving technology will score each of the screens in your consideration set and select the highest scoring locations that match up best with your campaign objectives.
Learn more about how this powerful technology works:
6. Once you have finished with the Campaign Details, our system will display the content sizes needed on the Ad Content Tab.

Click the Assign Content link for each size needed:

In the new pop-up that appears, you can choose from the options in the top right -
- Upload Ad Content
- Create Ad Content
- Download a Photoshop Template for that size needed

For campaigns with many ad content pieces needed, we are here to help. If you click the Bulk Create Ads link and provide us with a landscape and portrait layered photoshop file, we will take care of the rest! We will email you the details after we receive your files.

Or if you are comfortable building and uploading all sizes needed, you can easily upload them as a group:


And of course, if you have any questions about these ad content needs, contact us at content@adomni.com or by phone 844-423-6664 or live chat.
7. The last step in the process is to launch your campaign from the campaign snapshot page:
