Geofencing for digital out of home
If you have very specific geographical areas in which you want to place your ads, custom inclusion fences are a great way to do precision targeting.
With Adomni’s planning and buying tool, it is easy to draw inclusion fences.
There are two ways to create inclusion fences:
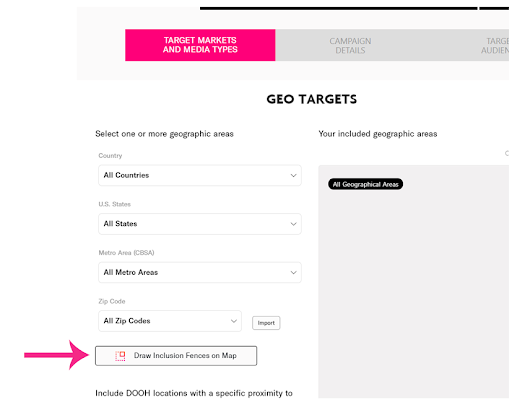
- Once you have logged in to you account and clicked on a campaign, you can draw inclusion fences on the map by clicking the button shown below:
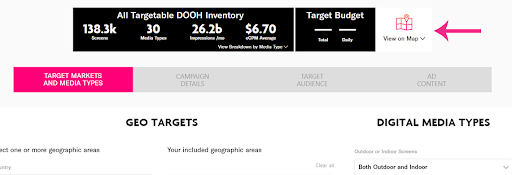
2. You can also go right to the map itself by clicking the button on the right of the metrics tray:
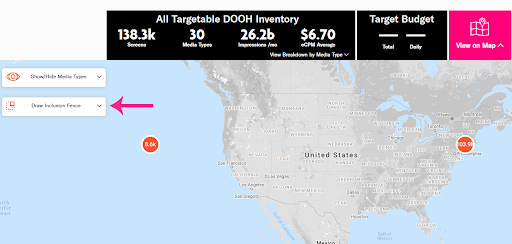
And click on the Draw Inclusion Fence button on the left side:
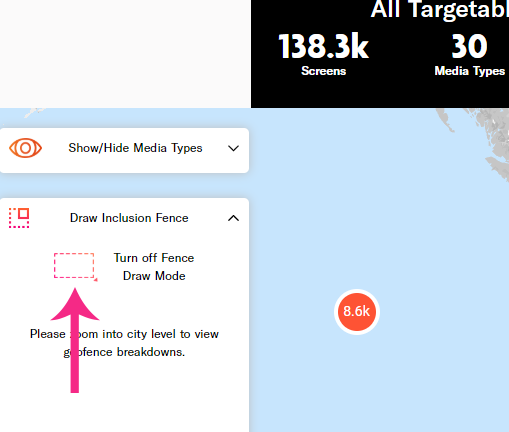
Then click on the rectangle marquee to go into “draw mode”:
Then zoom in to the areas you want to include and draw your inclusion fences.
In this example, we have included Austin, Houston, Dallas and San Antonio in one inclusion fence:
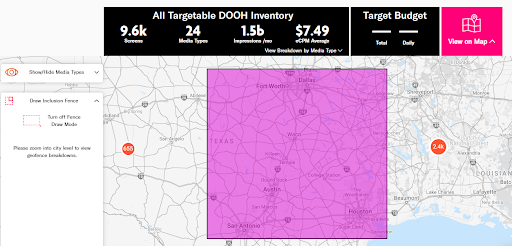
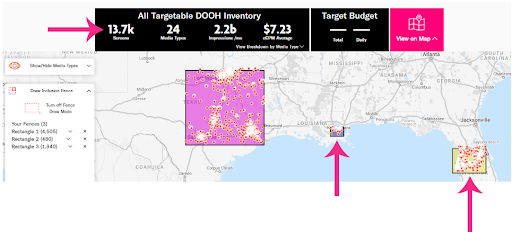
Each time you draw a new fence, your metrics tray and media types breakdown will update with the incremental screens.
In the below example, we created fences for the New Orleans and Central Florida area and the targetable screens grew from 9.6k to 13.7k:
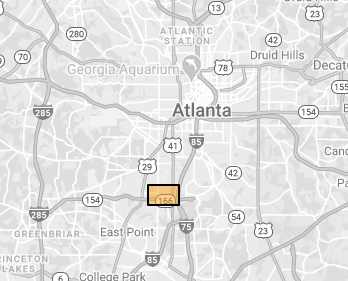
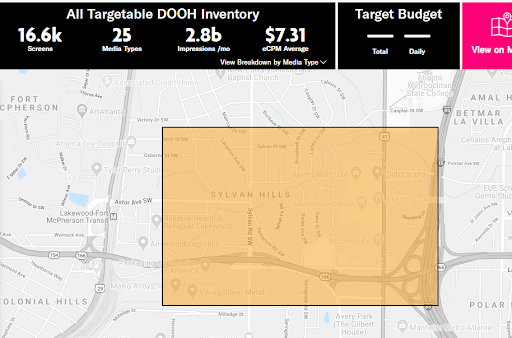
There is no limit to the number of inclusion fences that you can draw or how granular each fence is, as we can see in this fence that targets a specific area of southwest Atlanta:
It is important to note that if you intend to do a combination of inclusion fences and other geo targets, you must first draw your inclusion fences and then choose the other geo targets.
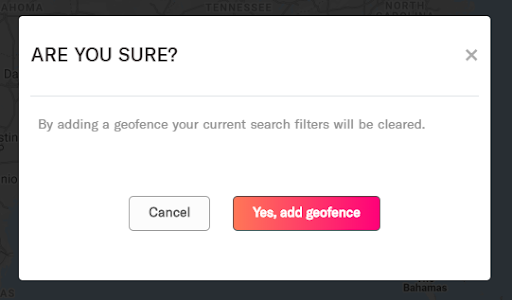
Otherwise, the system will warn you that all of your search filters will be cleared to go into “geofence mode”.
In conclusion, inclusion fences are a nice way to precisely geo target.